
Microsoft Dynamics 365 offers users the ability to create their own personal email signatures when sending an email from a Dynamics 365 CRM product.
Each user can have multiple signatures and select them from the email record when creating an email. Users also may set a default signature.
Below, we’ll walk you through setting up custom email signatures in your Dynamics 365 CRM system. Be sure to share the steps with your colleagues! Creating a companywide signature style is a good branding technique.
How to Add Custom Email Signatures in Dynamics 365
Email signatures can be accessed via the legacy settings area or from the navigation pane if added to the sitemap of your app.
In Legacy Settings:
- Select the gear icon, then navigate to Advanced Settings > Settings > Templates. Next, click on Email Signatures:

- Click New to create a new email signature:

In the Navigation Pane:
Click on Email signatures and select New:

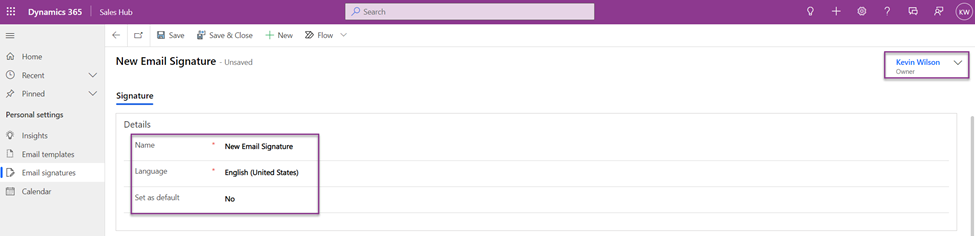
To create the email signature record, you’ll need to complete the fields below.
- Owner: Select the owner of the signature (a user or team)
- Name: Fill in the text field for the name of the signature
- Language: Keep the default language or select a different language
- Set as default: Determine whether this should be the default email signature
In the body of the signature, you can type or paste in the signature you want to add. You also can add images (typically from your organization’s website):
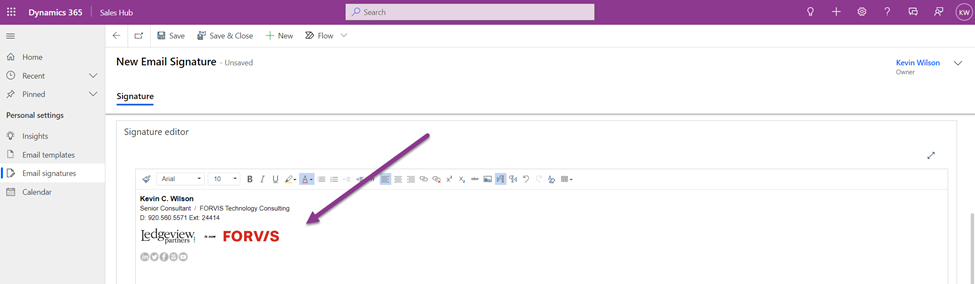
Be sure to Save and Close the record.
To use a signature, simply create a new email message within Dynamics 365 (it will automatically insert your default signature). If you want to select a different signature, click on Insert signature and select the desired signature.
Now that you know how to add custom email signatures in Dynamics 365, what other CRM challenges can we assist you with? The Business Technology Solutions Team at Forvis Mazars is a Microsoft Dynamics Gold Partner with certified experience in Microsoft Dynamics systems. Use the Contact Us form below to get in touch.